Intro
Microsoft has released a terrific open source, multi-platform code editor called Visual Studio Code. If you want to get started with VS Code, I would recommend watching the videos provided here and then watch this excellent video about replacing PowerShell ISE with Visual Studio Code by Mike Robbins
What about the PowerShell profile?
While Visual Studio Code can use PowerShell as its terminal, it does not use any previously setup PowerShell profile. In order to create a VS Code PowerShell profile (or VSCPP for short), select the Terminal (make sure it says PowerShell Integrated in the drop down on the right) and type $profile.

In order to create this file, you can type PS>notepad $profile in the terminal. This will open notepad and let you create the file. You can add whatever settings you prefer to in PowerShell. Once you save the profile, hit F1 or Ctrl+Shift+P to bring up the Command Palette and type Reload Window.

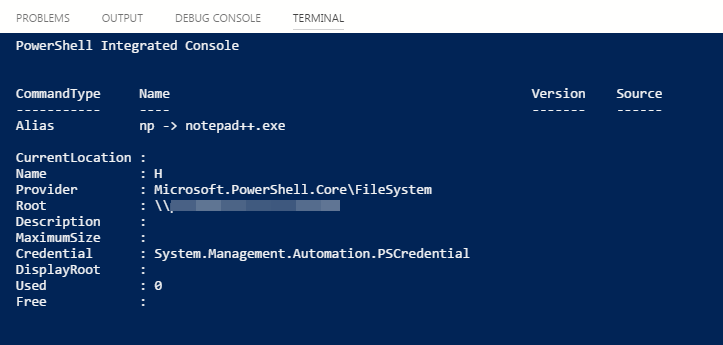
When the reload completes, create a new PowerShell file in VS Code and you should see the Terminal switch to PowerShell Integrated and load your newly created VSCPP (this assumes you have installed the PowerShell extension into VS Code).

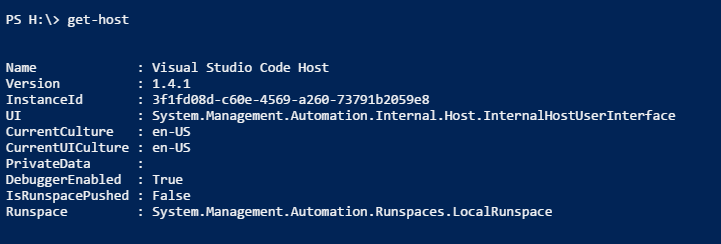
NOTE: The PowerShell version that is installed as an extension into VS Code, has its own version.

If you have modules, scripts, or functions that have a dependency on a certain version of PowerShell, you will have to change, comment, or remove the dependency in order to use them in Visual Studio Code.
Value for Value
If you received any value from reading this post, please help by becoming a supporter.
Happy Scripting!
Alain