![]()
Scenario
My team is nearing the end of a migration from physical XenApp servers to virtual XenApp servers running on XenServer. During the testing phase of the new XenApp farm, we found that CPU utilization was excessive and we eventually determined that we had different CPU architectures in some of the servers (with the same model number) so we had to split our XenServer Pool. I mentioned this issue in a previous Tweet:
Using HP DL385 G5's and having CPU issues? Check CPU stepping level. Known issue with CPU Stepping 2 and Linux. Can e…http://lnkd.in/8yWAZt
— Alain Assaf (@alainassaf) March 2, 2011
We have since replaced the CPU’s in the newer servers and now we wish to consolidate our pools into one group. Currently the two pools are split along functionality, with one being for production and the other being for development. We are using PHD Virtual Backup to archive PVS master images, Citrix Streaming profilers, and some other systems only in the development pool.
This blog series will detail the steps I went through in order to consolidate all our VM’s and Servers into one pool.
Install PHD Virtual Backup
The first step is to install PHD into the production XenServer pool so we can perform restores into this pool.
- Download the PHD Virtual Backup for Citrix trial from `http://www.phdvirtual.com/downloadtrial_citrix`
- Extract the compressed file and launch the phdvb.msi on a computer with XenCenter installed.
- Accept the license agreement and click Finish when the Installation wizard completes.
- Restart XenCenter
- Import the PHD virtual appliance (PHDVBA.xva)
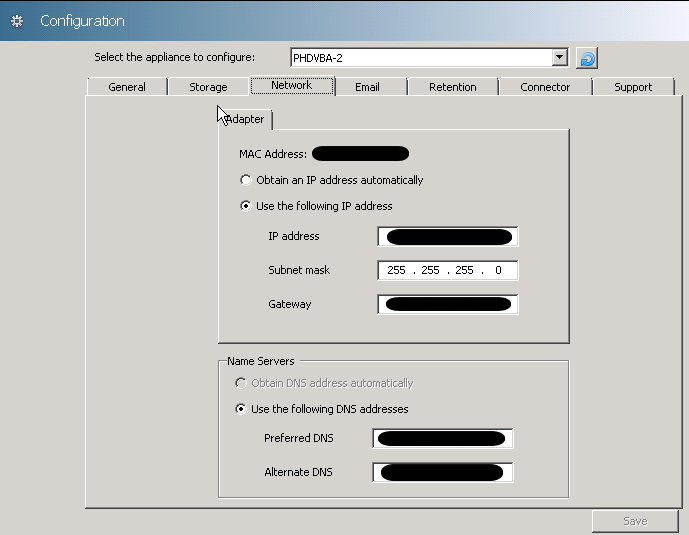
- If the appliance does not get an IP, you must go to the console and set a static or dynamic IP by typing Ctrl-N.
- Right-click the appliance and select the Console
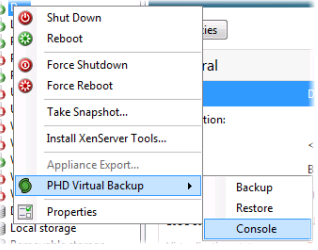
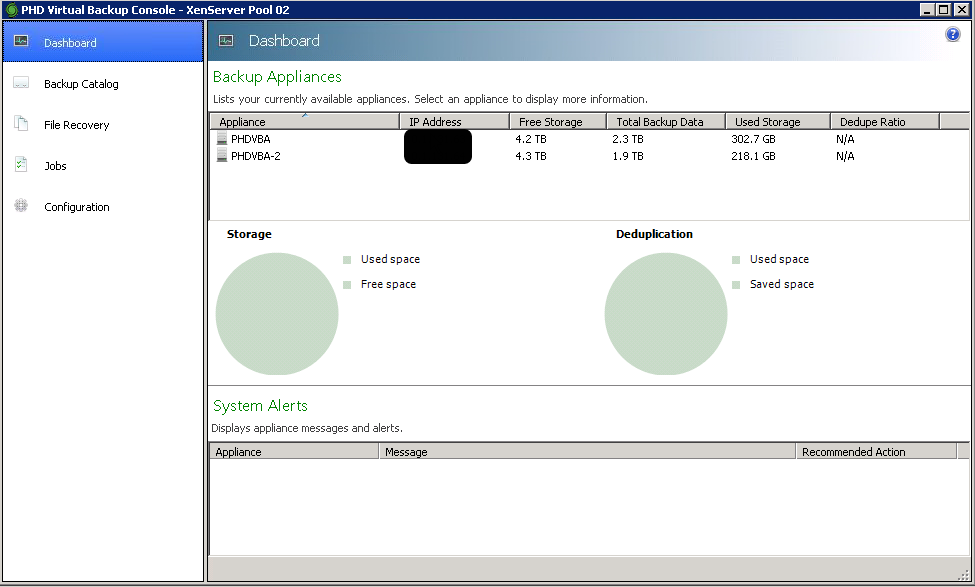
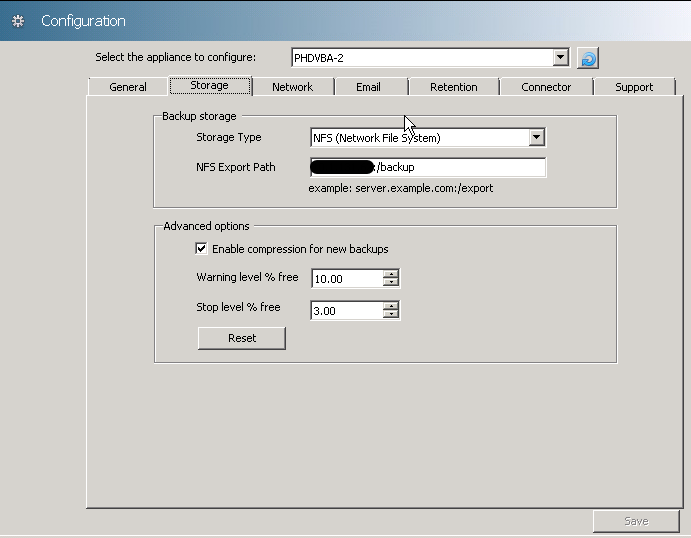
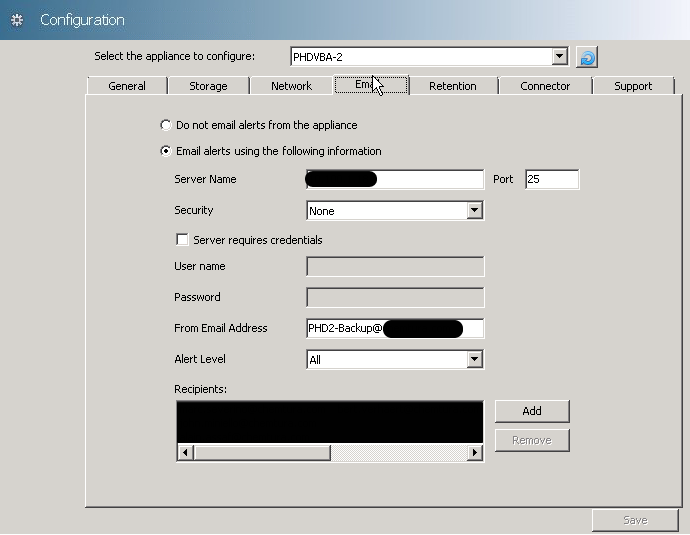
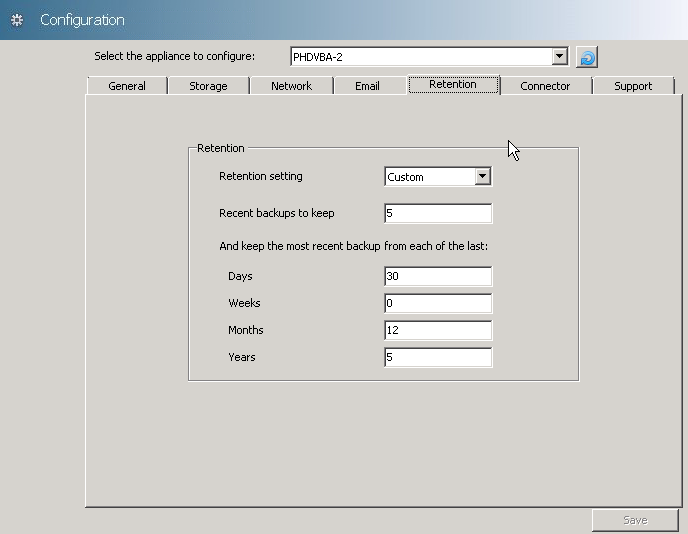
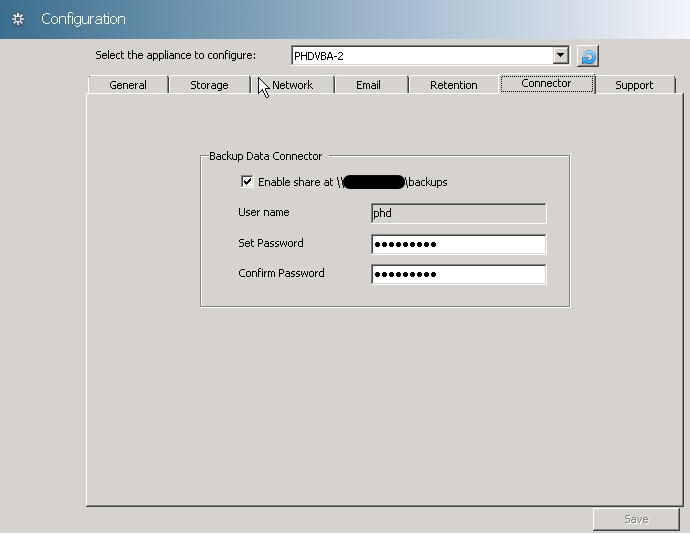
Click Configuration and setup the backup agent…

In my next post we will test a backup from one pool to a restore in the other pool.
Value for Value
If you received any value from reading this post, please help by becoming a supporter.
Thanks for reading,
Alain